Written by This email address is being protected from spambots. You need JavaScript enabled to view it.
Nios® II is an softcore 32-bit processor developed by Altera to be implemented over all Altera (INTEL) FPGA and SoC families.
Some NIOS-II-e Gen2 features:
- No license required.
- Use fewer than 700 logic elements.
- 6-stage pipeline runnning up to 30 DMIPS at 175 MHz in Nios II /e "economy" processor (Dhrystones 2.1 benchmark).
- Deterministic and jitter free real-time performance.
- Vector Interrupt Controller.
- Custom instructions (ability to use FPGA hardware to accelerate a function).
- Supported by industry-leading real-time operating systems (RTOS).
- Nios II fast processor core can use a memory management unit (MMU) to run embedded Linux* operating system.
One way to optimize hardware resources use of Nios-II processor is implementing an real Time Operating System (RTOS) and NIOS-II is a excellent processor to run RTOS. Nios-II processor is supported by a lot of RTOS and one of the most popular and robust is the FreeRTOS.
Some FreeRTOS features:
- Free for use in commercial applications.
- Scalable, simple and easy to use.
- Simple - the core of the RTOS kernel is contained in only 3 .C files.
- Scheduler can be configured for both preemptive or cooperative operation
- Free tutorial books and training to educate engineers
In this article, we present all steps to implement the last FreeRTOS (v9.0) versión over the NIOS-II processor. All step presented area developed in Quartus II 17.0 version and tested in DE0-nano development board.
Create Project using "DE0 Nano System Builder"

Open project using Quartus 17
From Quartus: File, Open Project..

Create NIOS-II instantiation using Qsys tool
- From Quartus: Tools, Qsys..
- Save as niosII.qsys
- From IP catalog, include this components and configure.
- Interconnect all components included in project in the next way.

Generate HDL of NIOS-II instantiation.
- From Qsys: Generate, Generate HDL...

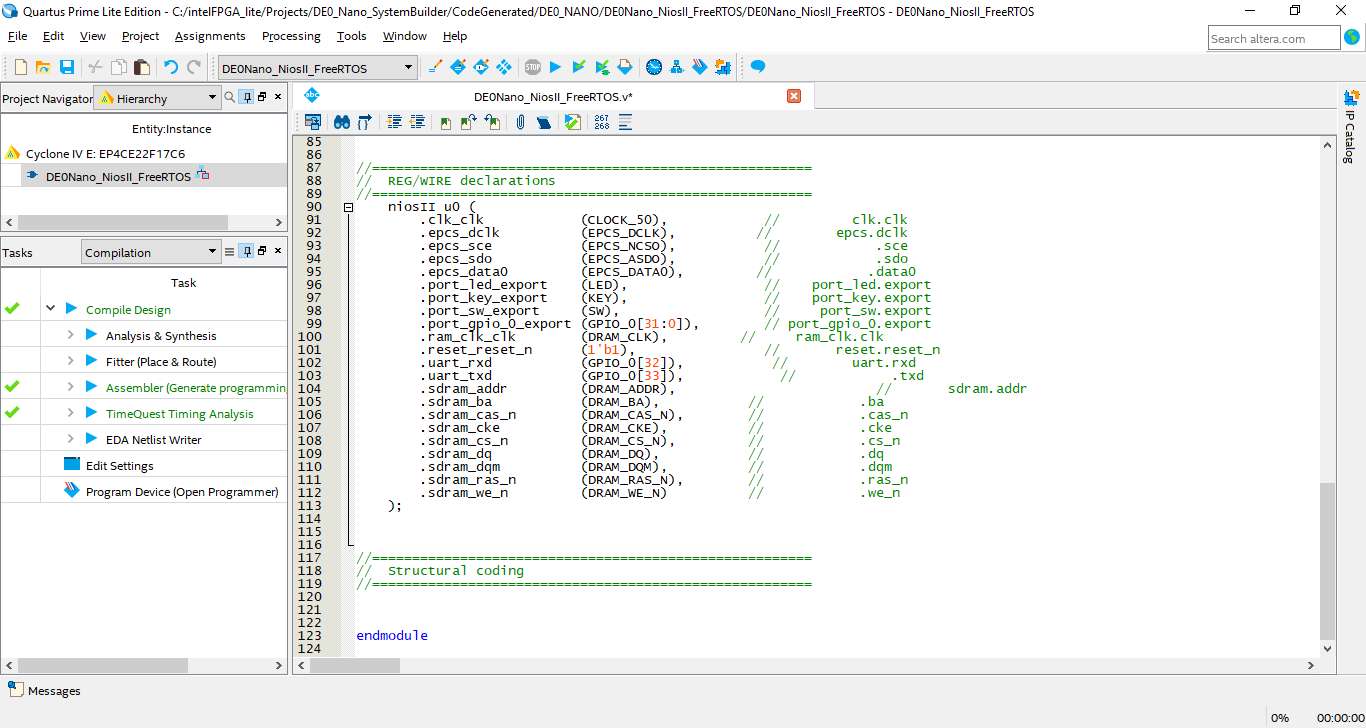
Connect NIOS-II HDL with FPGA hardware pins.
- write follow code in Quartus project, verilog file.
 niosII u0 (
.clk_clk (CLOCK_50), // clk.clk
.epcs_dclk (EPCS_DCLK), // epcs.dclk
.epcs_sce (EPCS_NCSO), // .sce
.epcs_sdo (EPCS_ASDO), // .sdo
.epcs_data0 (EPCS_DATA0), // .data0
.port_led_export (LED), // port_led.export
.port_key_export (KEY), // port_key.export
.port_sw_export (SW), // port_sw.export
.port_gpio_0_export (GPIO_0[31:0]), // port_gpio_0.export
.ram_clk_clk (DRAM_CLK), // ram_clk.clk
.reset_reset_n (1'b1), // reset.reset_n
.uart_rxd (GPIO_0[32]), // uart.rxd
.uart_txd (GPIO_0[33]), // .txd
.sdram_addr (DRAM_ADDR), // sdram.addr
.sdram_ba (DRAM_BA), // .ba
.sdram_cas_n (DRAM_CAS_N), // .cas_n
.sdram_cke (DRAM_CKE), // .cke
.sdram_cs_n (DRAM_CS_N), // .cs_n
.sdram_dq (DRAM_DQ), // .dq
.sdram_dqm (DRAM_DQM), // .dqm
.sdram_ras_n (DRAM_RAS_N), // .ras_n
.sdram_we_n (DRAM_WE_N) // .we_n
);
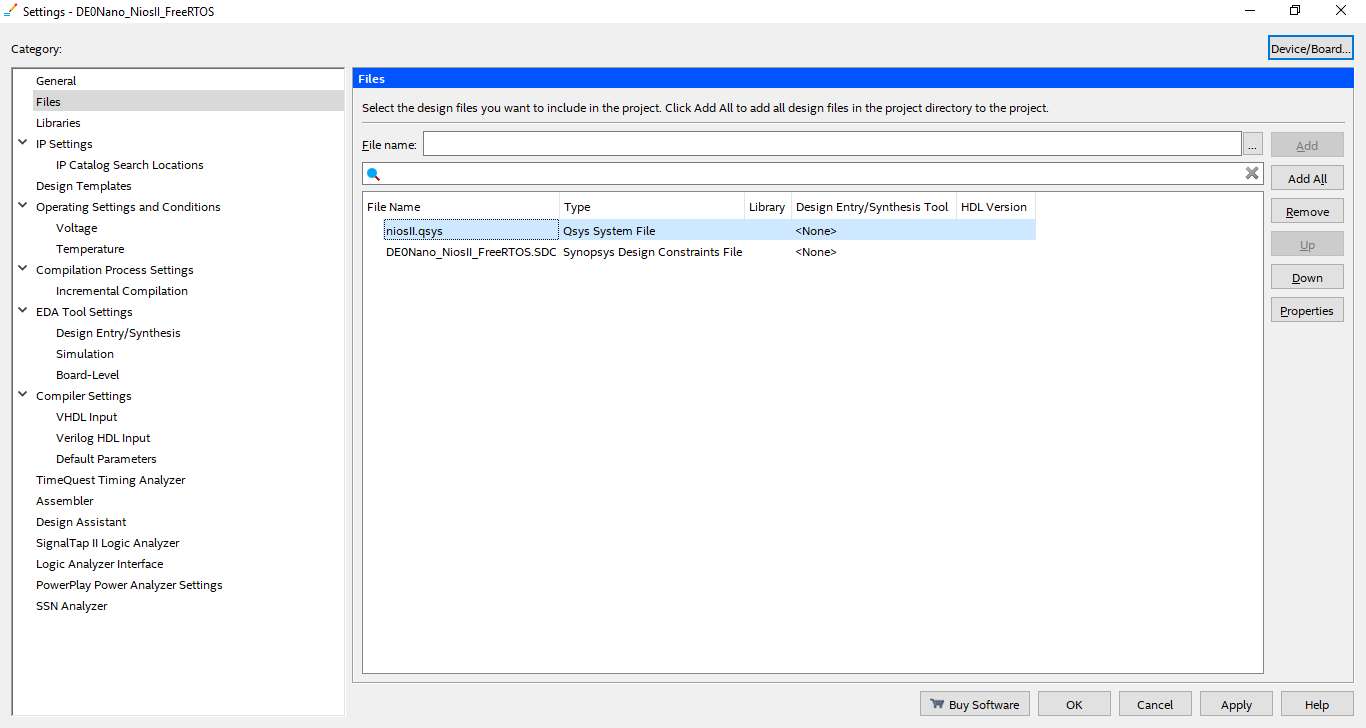
Include NIOS-II HDL to Quartus Project
- From Quartus: Project, Add/Remove files in Project..
- Add niosII.qsys file to project.
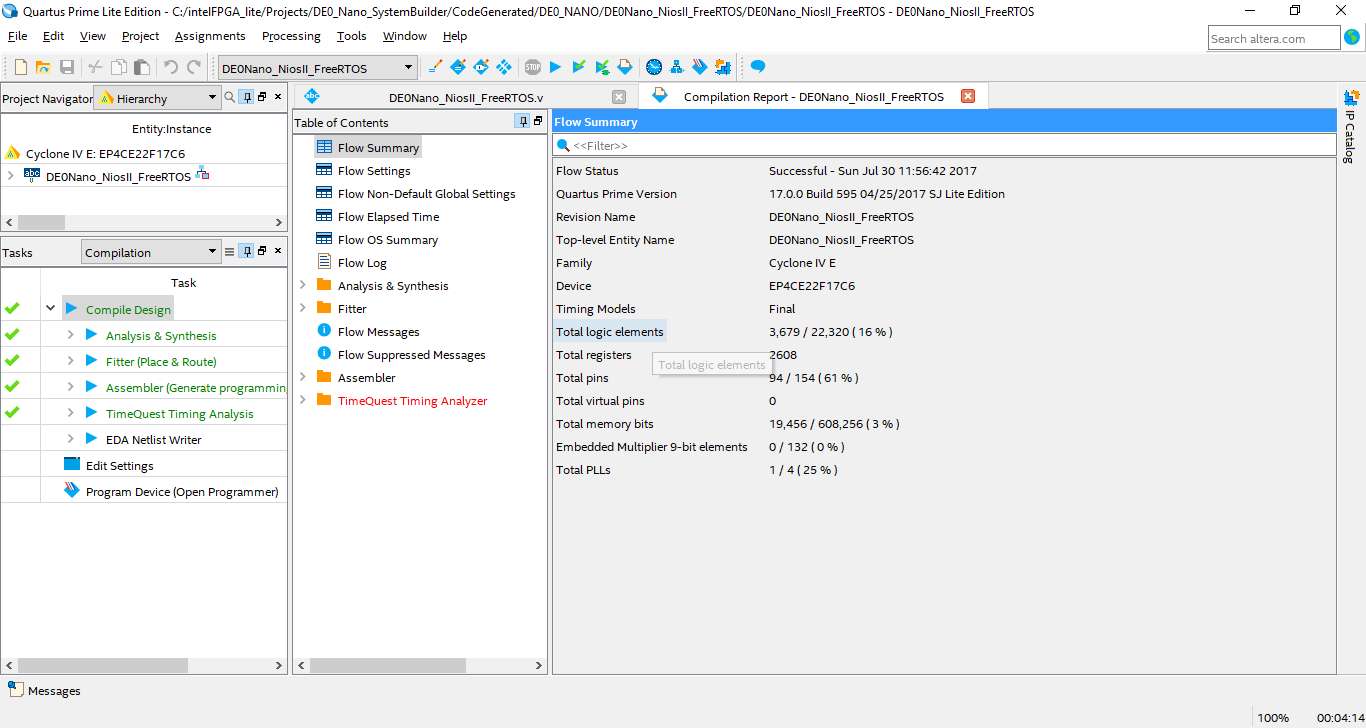
Compile Quartus project
- From Quartus: Processing, Start Compilation.
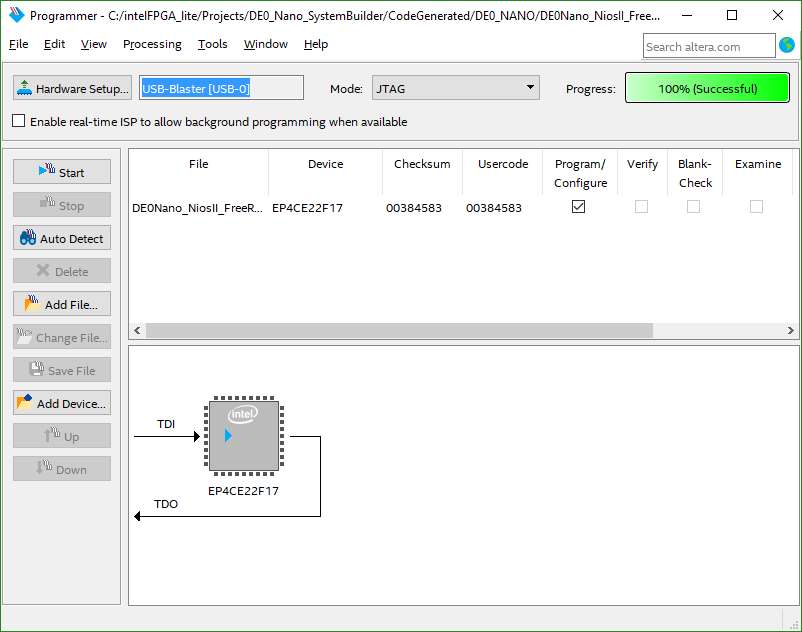
Programming FPGA DE0-nano.
- From Quartus: Tools, Programmer
- click over Start Button
Create C/C++ project from Eclipse IDE
- From Quartus: Tools, Nios II Sofware Build Tool for Eclipse.
- Select a workspace
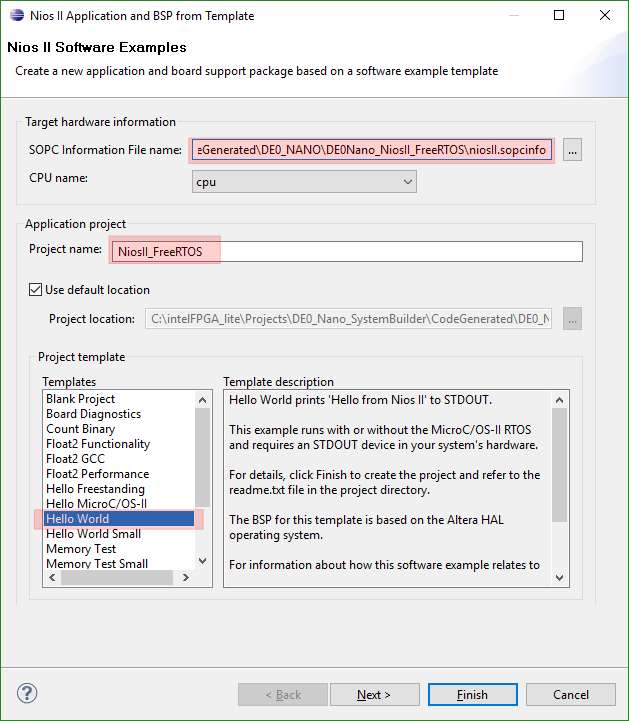
- From Eclipse: File, New, Nios II Application and BSP from Template
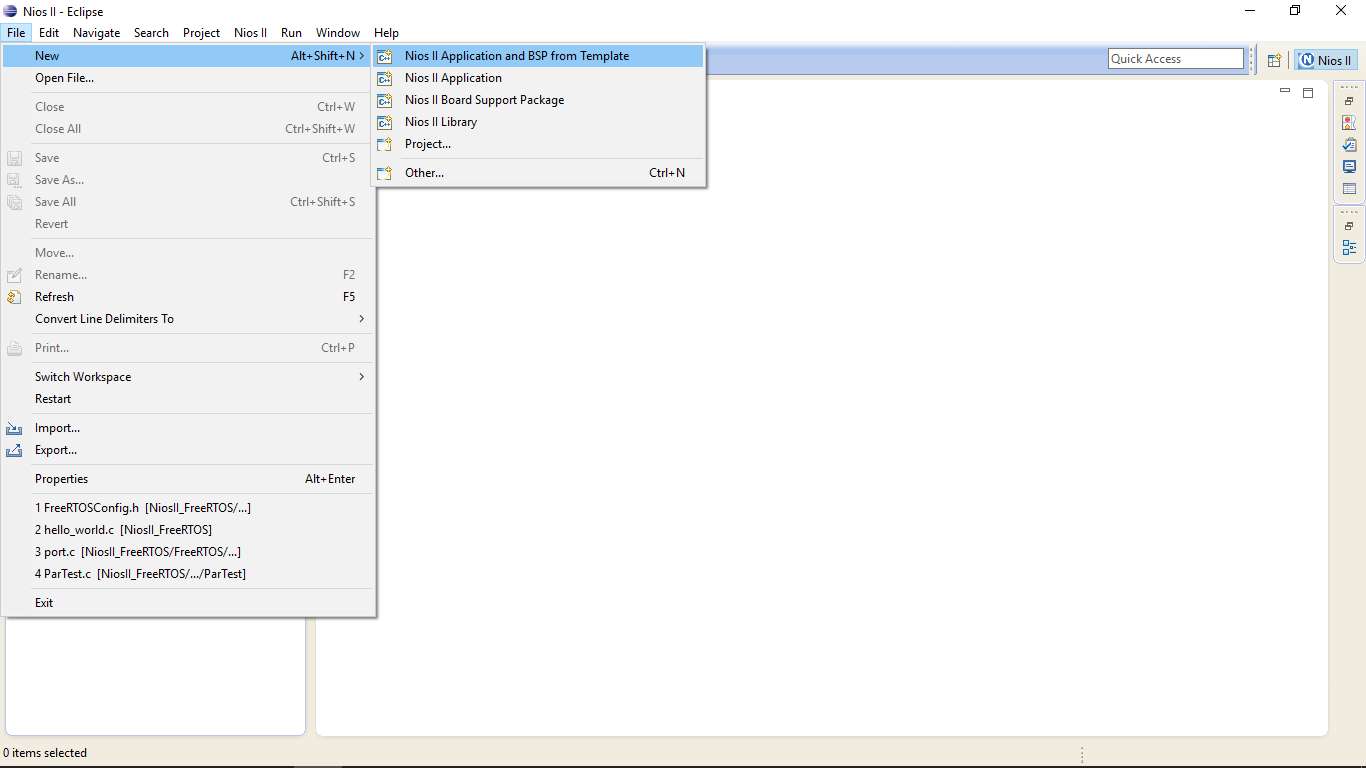
- Create NIOS II application from template
- Nios II SOPC: Search for niosII. sopcinfo in to project folder
- Project Name: Whatever you want
- Project Template: Hello World
- Finish
Import FreeRTOS to Eclipse Project

- Include FreeRTOS folders to compile path in properties of Eclipse Nios Project.

Edit hello_wolrd.c to create task and run FreeRTOS.
In this example, in hello_wolrd.c are created two task. This is the "hello_world.c" code. Copy and paste in your own eclipse project.
/*
 *
 * [File Name]     hello_world.c
 * [Platform]      DE0-nano
 * [Project]       NiosII & FreeRTOS
 * [Version]       1.00
 * [Author]        ea.rincon11 - ErnestoARC
 * [Date]          24/07/2017
 * [Language]      'C'
 * [History]       1.20 - Edited from original file included in FreeRTOS V9.0.0 Nios Example
 */
//-----------------------------------------------------------------------
// Standard C/C++ Includes
//-----------------------------------------------------------------------
#include <stddef.h>
#include <stdio.h>
#include <string.h>
//-----------------------------------------------------------------------
// Scheduler Includes
//-----------------------------------------------------------------------
#include "FreeRTOS.h"
#include "task.h"
#include "queue.h"
#include "partest.h"
//-----------------------------------------------------------------------
// Constants
//-----------------------------------------------------------------------
/* The rate at which the Print out message controlled by the 'Task1' */
#define mainTASK1_PERIOD	( 500 )
/* The rate at which the Print out message controlled by the 'Task2' */
#define mainTASK2_PERIOD	( 1000 )

/* Priority definitions for the tasks in the demo application. */
#define mainTASK1_PRIORITY		( tskIDLE_PRIORITY + 1 )
/* Priority definitions for the tasks in the demo application. */
#define mainTASK2_PRIORITY		( tskIDLE_PRIORITY + 2 )
//-----------------------------------------------------------------------
// Function Prototypes
//-----------------------------------------------------------------------
static void prvPrintTask1( void *pvParameters );
static void prvPrintTask2( void *pvParameters );
//-----------------------------------------------------------------------
// Main Function
//-----------------------------------------------------------------------
int main()
{
	/* Configure any hardware required for this demo. */
	vParTestInitialise();

	printf("Hello from Nios II!\n");

	/* prvPrintTask1 uses sprintf so requires more stack. */
	xTaskCreate( prvPrintTask1, "Task1", configMINIMAL_STACK_SIZE, NULL, mainTASK1_PRIORITY, NULL );
	/* prvPrintTask2 uses sprintf so requires more stack. */
	xTaskCreate( prvPrintTask2, "Task2", configMINIMAL_STACK_SIZE, NULL, mainTASK2_PRIORITY, NULL );

      /* Finally start the scheduler. */
	vTaskStartScheduler();

	/* Will only reach here if there is insufficient heap available to start
	the scheduler. */
	for( ;; );

  return 0;
}
/*-----------------------------------------------------------*/
static void prvPrintTask1( void *pvParameters )
{
	for( ;; )
	{
		/* Wait until it is time to run the tests again. */
		vTaskDelay( mainTASK1_PERIOD / portTICK_PERIOD_MS);

        /* Print out an message */
        printf( "NIOS II Task1\r\n" );
        /*Control LED 1 DE0-NANO*/
        vParTestToggleLED(1);
	}
}
/*-----------------------------------------------------------*/
static void prvPrintTask2( void *pvParameters )
{
	for( ;; )
	{
		/* Wait until it is time to run the tests again. */
		vTaskDelay( mainTASK2_PERIOD / portTICK_PERIOD_MS);

        /* Print out an message */
        printf( "NIOS II Task2\r\n" );

        /*Control LED 2 DE0-NANO*/
        vParTestToggleLED(2);
	}
}
/*-----------------------------------------------------------*/
////////////////////////////////////////////////////////////////////////////////
// EOF
////////////////////////////////////////////////////////////////////////////////
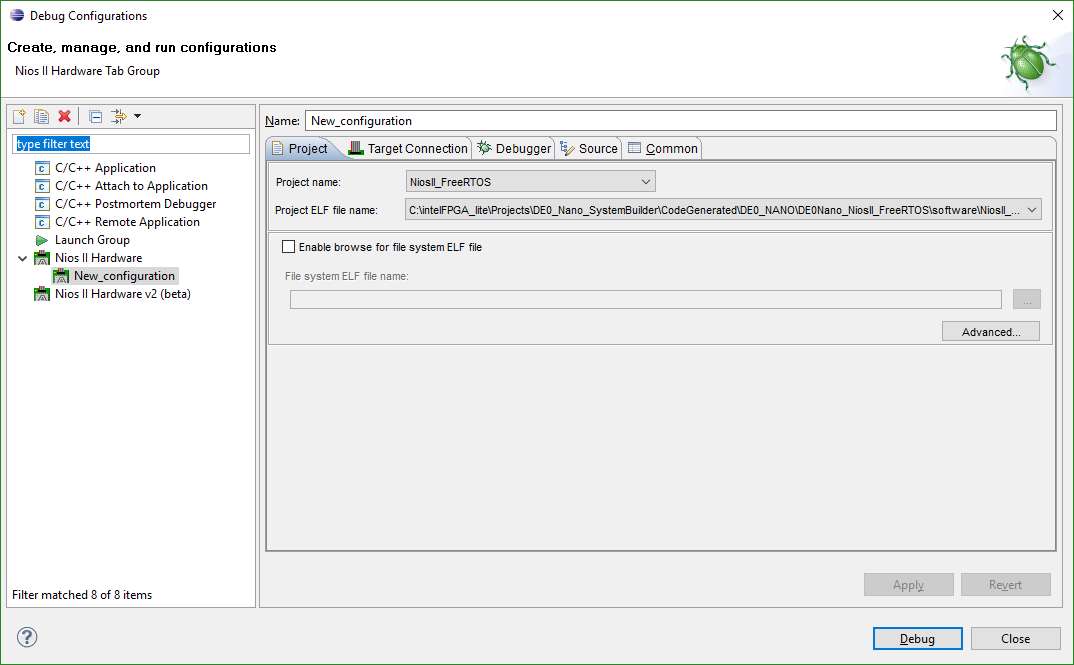
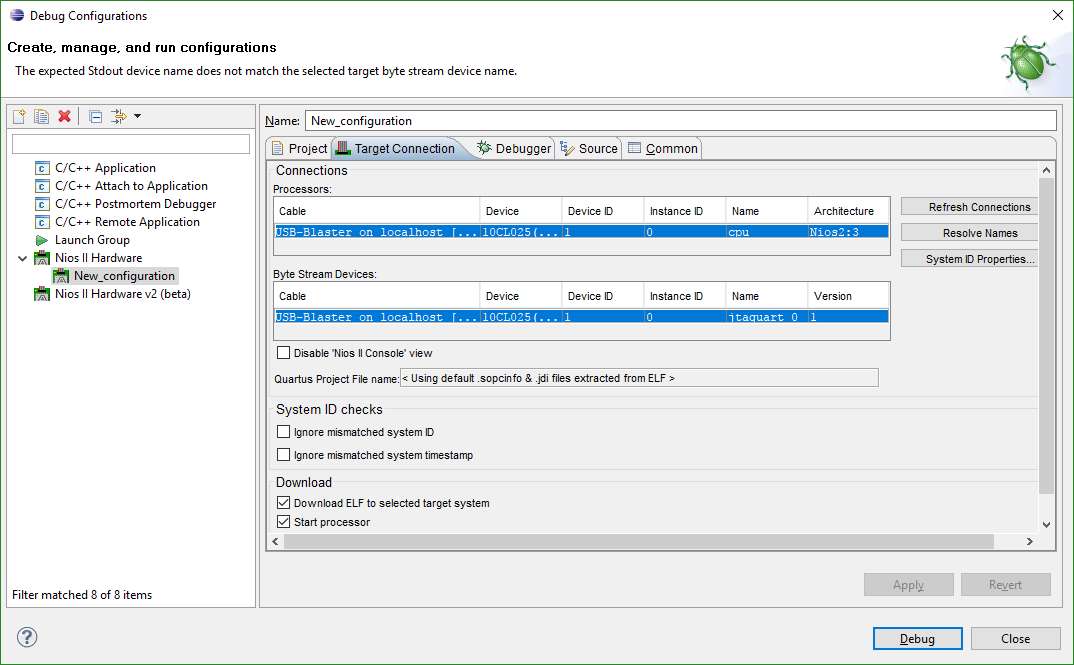
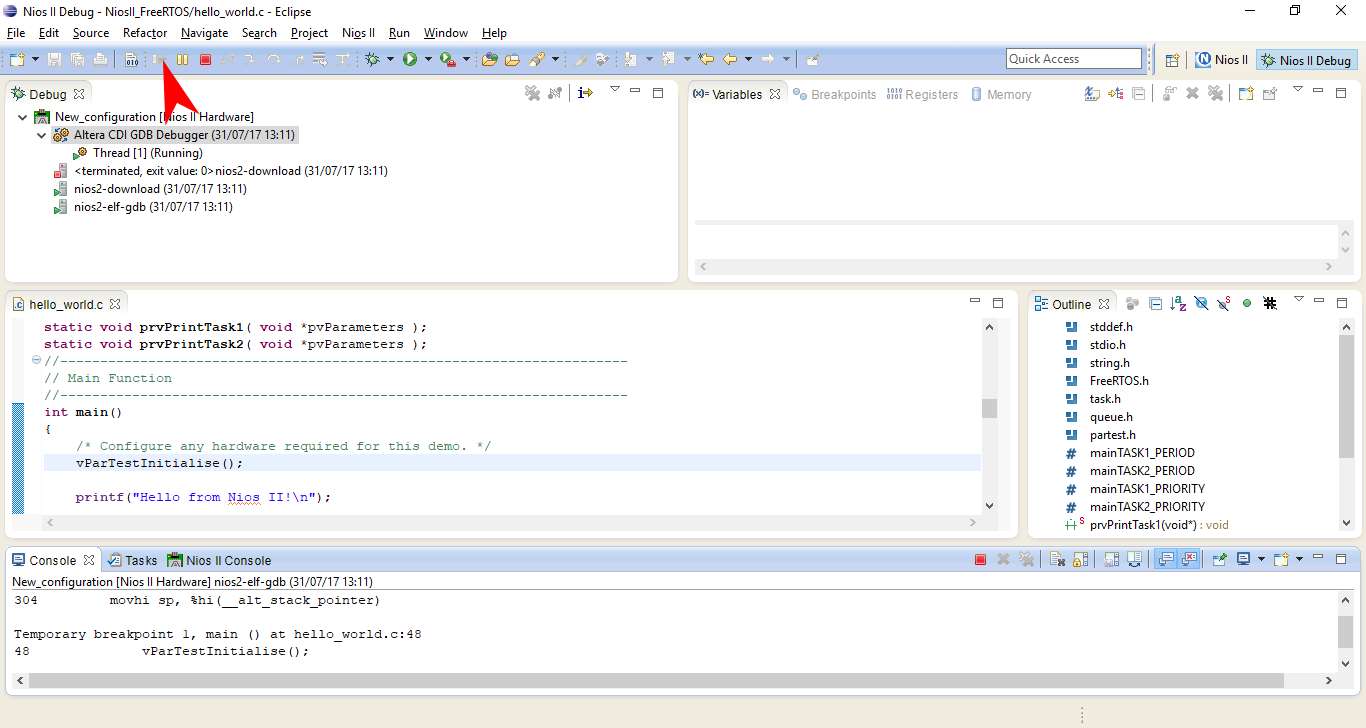
Compile and Program FreeRTOS Project into FPGA with NiosII
- From eclipse: Project Build All
- From eclipse: Run, Debug Configurations...
- Click DEBUG and RUN debugger
Download complete project.
If you don´t want follow this steps, then download the Quartus, Qsys and Eclipse project.