-
-
Written by Holguer Becerra
-
Category: Software
-
-
Hits: 46600
Coding USB-Serial using Android Studio.
Written by: Holguer A. Becerra
Requirements:
- Android Studio 2.1 or superior.
- USB-Serial FTDI232 converter
- OTG cable.
- Attachments
As everyone knows, we are used to using UART/Serial protocols to create communication channels between our programable devices. However, it is not always handy for beginners to have an explained and detailed tutorial about it, which drives me to write this simple but useful tutorial that you might find useful for your class projects or whatever your idea could be.
- First, you need to have installed Android Studio 2.1 or superior, in this case I will work with Android 2.1.2.
- After you have installed Android Studio, you need to download this JAR file, which contains the driver to access FTDI Serial devices. In this case FTDI 232 chips.
- Now, open Android Studio, let’s begin by creating a new project.


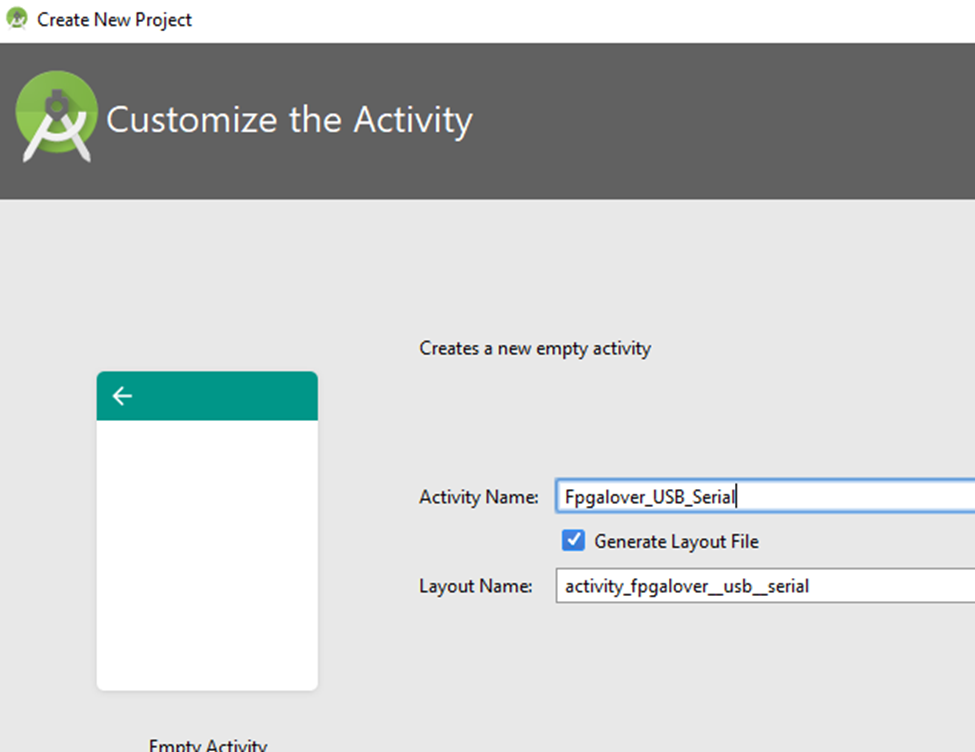

- After creating the new project, it is gonna appear something like the following

- We are going to click on the tap “app” and select the folder “Lib”

- Now if we expand the folder “FPGALover_USB_Serial” we are going to observe in detail all our project directory.

- Now expand the folder “app”, and there should be a folder called “Lib”

- Paste on this folder the jar you downloaded.

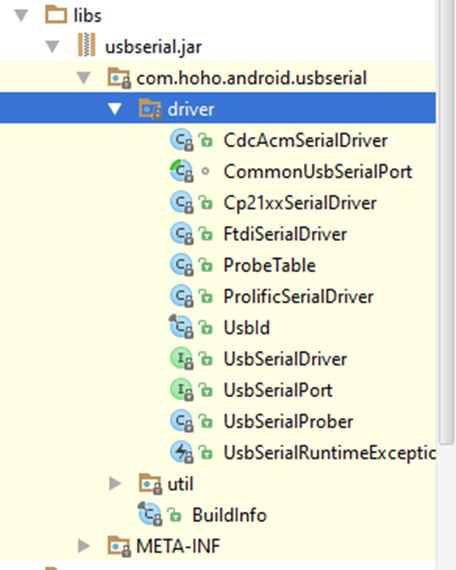
- After pasting it, right-click on the file “usbserial.jar”, and choose “Add As Library…”

- After adding it, you must wait until your app is updated and refreshed, then you are going to be able to see into the jar you just pasted on the folder lib.
- Now it is time to customize you GUI before coding this example using the USB-serial Library.
- So expand the folder “src”, which is located within the folder “app”, and find the GUI layout which is located on “/src/main/res/layout” as you can see in the following image.

then double click on the activity layout, and your Android Studio’s perspective will be changed to:

- Now it is time to add a button, so select from the palette the widget “Button”, and drag and drop it on the cellphone’s screen.
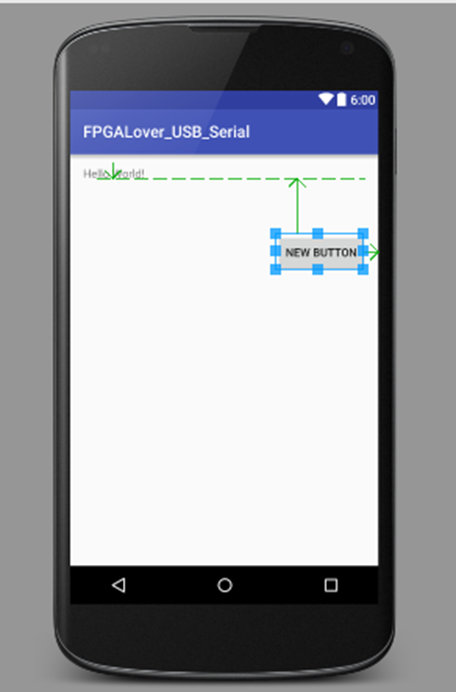
- Rename it with the name “Send” on properties, and change its ID name as well with “btSend”


- Now go to the view “component tree” and remove the TextView is in there.


- Now, search on the palette, under TextFields, the option “Plain Text”, and add 2 of those into the layout.

Locate one of them above the button btSend, and the other one below the button btSend
- The one above the btSend, change its id by the name “txText”.

- The second textField id, change it to “rxText”

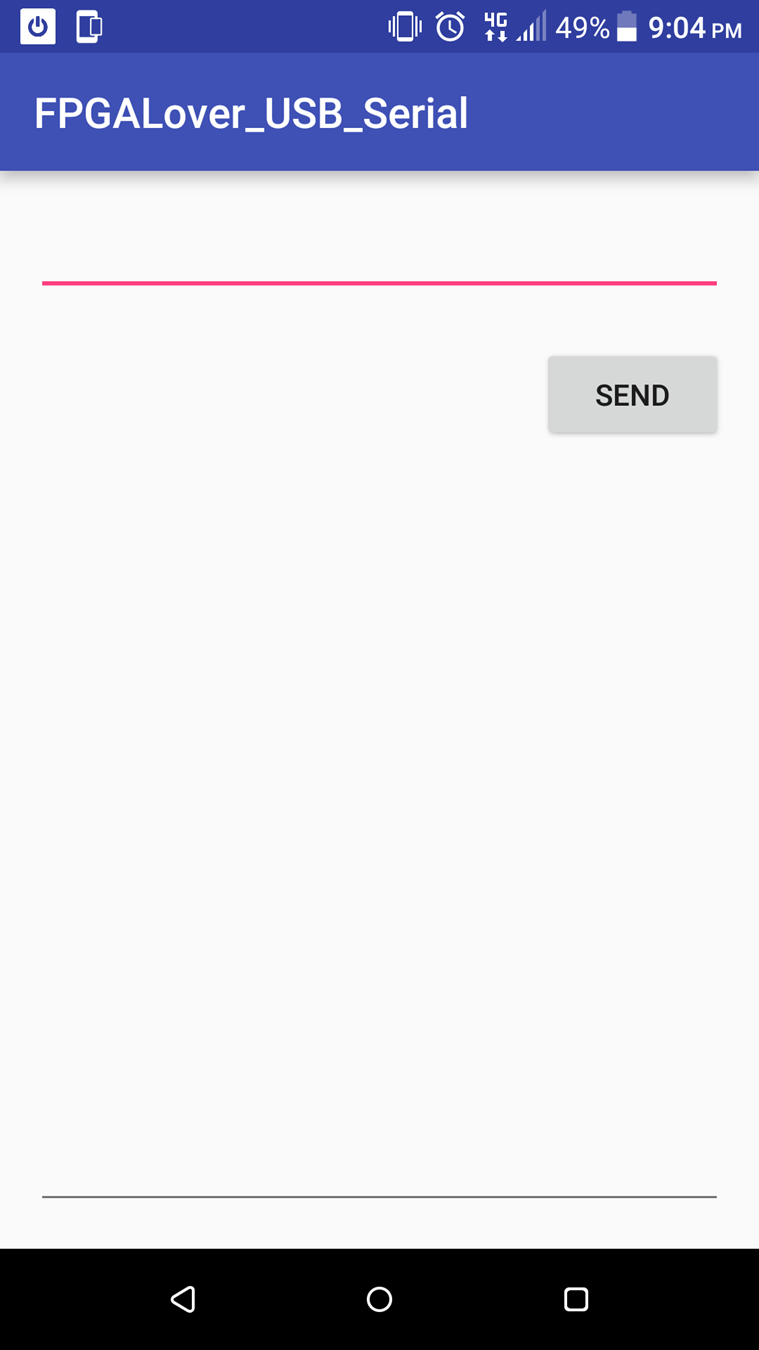
- Now we have a basic layout to start coding.
- Now double click on the java “Fpgalover_USB_Serial.java” which is under the main folder into the java folder.

- There should be a basic code like the following

- Now download the following java files, and paste them on the same folder in which is located “Fpgalover_USB_Serial.java”

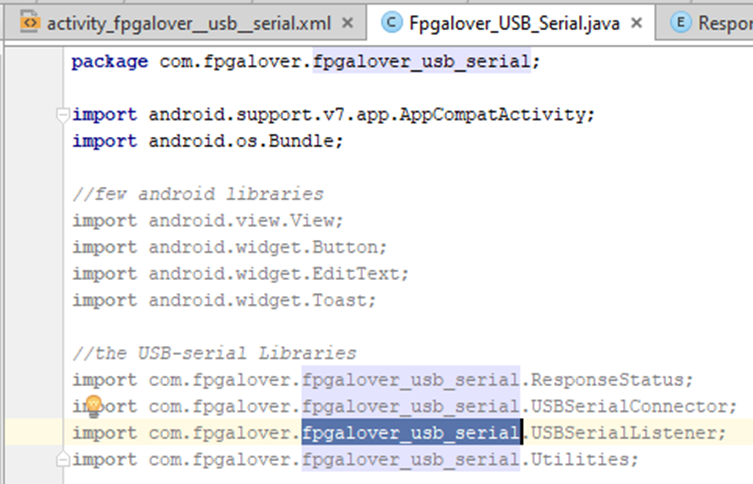
- Now, we have to add the following lines at the top of the file “Fpgalover_USB_Serial.java” in order to add the pasted java files to our Android program, and in addition we need to add some extras libraries just to facilitate the coding.
- Once, you have added the import lines, we must add one last line before start coding this useful example. Under the main project’s folder, there is a file called “AndroidManifest.xml”, double click on it to open it, and add the following line to give the feature of accessing to the USB hardware to our Android app.

- Go back to our main java code, and let’s start coding our app, first add the following variables to our main code.

- Now within the event “OnCreate”, add the following lines, which initialize the widgets, and add the event on Click to the button btSend.

so, every time you press on the button btSend, the app will take the text of the rxText widget and send it through the USB-Serial Channel.
- Now, we have to implement the USBSerialListener into our main code and override it. For that, modify our main class appending the line “implements USBSerialListener”

- An apparent error seems to have come up, however you have nothing to worry about, this happens because we haven’t overridden any of the function of the USBSerialListener into our main class.

- To solve this, you must copy the following lines into our class.

- Once the error has been solved, we have to code and override each of the functions of our USB-Serial Listener. Starting with the method “OnDataReceived”, so what we want every time we get data from our serial port will be to put it into our rxText field, for that we must add the following lines into the method.

So, id the incoming data is different from null, we put on our textfield, the received data in HEX format and string format.
- Now, on the even every time we get and error when receiving data, we are going to use the android Toast to pop up a message on the screen telling we have captured an error.

- When our phone has acknowledged that the USB-serial device has been recognized, we modify the method “OnDeviceReady” to enable the widgets on our app.

- When the USB-serial is disconnected from our cellphone, we modify the method “OnDeviceDisconnected” to show on the screen the event.

- Now, we have just one final thing to do before building our app and test it. We need to add 2 more events into our class, the event “OnResume()”, and “OnPause()”. OnResume() will open the USB-serial channel at 115200 by default, and OnPause() will pause the com channel.

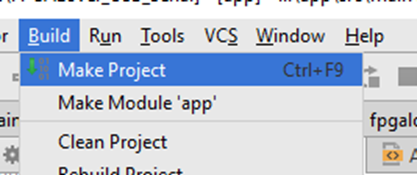
- Finally, we can build our app, by clicking on the menu “Build->Make Project”
- If everything turns out well you will have no errors on your app, if not you can check on the code as guidance (Download from here).
package com.fpgalover.fpgalover_usb_serial;
import android.support.v7.app.AppCompatActivity;
import android.os.Bundle;
//few android libraries
import android.view.View;
import android.widget.Button;
import android.widget.EditText;
import android.widget.Toast;
//the USB-serial Libraries
import com.fpgalover.fpgalover_usb_serial.ResponseStatus;
import com.fpgalover.fpgalover_usb_serial.USBSerialConnector;
import com.fpgalover.fpgalover_usb_serial.USBSerialListener;
import com.fpgalover.fpgalover_usb_serial.Utilities;
public class Fpgalover_USB_Serial extends AppCompatActivity implements USBSerialListener {
USBSerialConnector mConnector;// USB-serial library class
EditText txTEXT;
EditText rxTEXT;
Button btSend;
@Override
protected void onCreate(Bundle savedInstanceState) {
super.onCreate(savedInstanceState);
setContentView(R.layout.activity_fpgalover__usb__serial);
mConnector = USBSerialConnector.getInstance();
txTEXT = (EditText) findViewById(R.id.txText);
rxTEXT = (EditText) findViewById(R.id.rxText);
btSend = (Button) findViewById(R.id.btSend);
txTEXT.setEnabled(false);
rxTEXT.setEnabled(false);
btSend.setEnabled(false);
btSend.setOnClickListener(new View.OnClickListener() {
@Override
public void onClick(View v) {
String data = txTEXT.getText().toString();
mConnector.writeAsync(data.getBytes());
}
});
}
@Override
public void onDataReceived(byte[] data) {
if (data != null) {
txTEXT.setText(txTEXT.getText()+"\n HEX>"+Utilities.bytesToString(data)+"\nSTRING>"+data);
} else {
}
}
@Override
public void onErrorReceived(String data) {
Toast.makeText(this, data, Toast.LENGTH_LONG).show();
}
@Override
public void onDeviceReady(ResponseStatus responseStatus) {
txTEXT.setEnabled(true);
rxTEXT.setEnabled(true);
btSend.setEnabled(true);
}
@Override
public void onDeviceDisconnected() {
Toast.makeText(this, "Device disconnected", Toast.LENGTH_LONG).show();
finish();
}
@Override
protected void onResume() {
super.onResume();
mConnector.setUsbSerialListener(this);
mConnector.init(this, 115200);
}
@Override
protected void onPause() {
super.onPause();
mConnector.pausedActivity();
}
}
- It is time to test our app on our phone, for that you must build the APK file and installed it on your cellphone. This can be done by clicking on the menu “Build->Build APK”


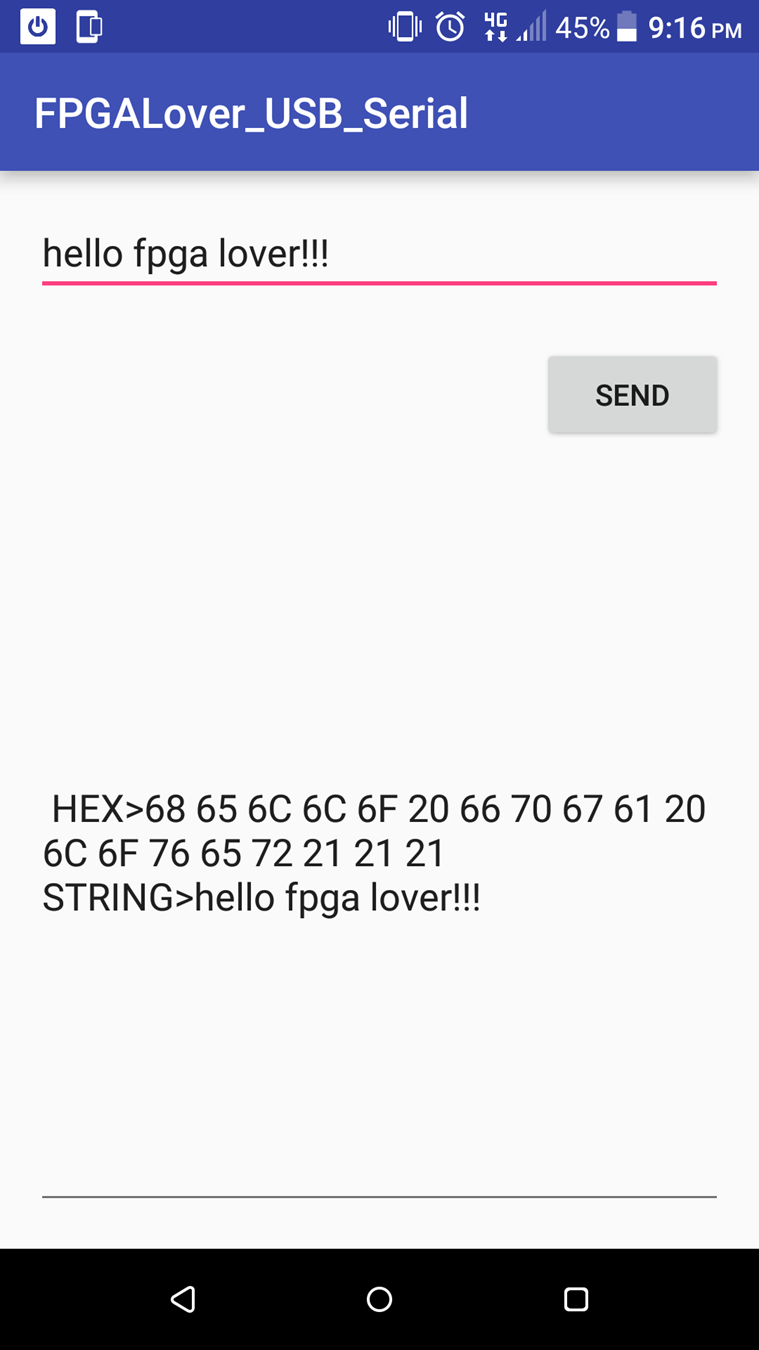
- Once the APK has been built, and installed on your cellphone, you can test it out by plugging any USB-Serial converter to the OTG port on your cellphone. In this case, I connect a Xbee Xplorer to my phone, and wire up TX and RX to create and echo bridge to be able to echo what I send through the com channel.
You can Download the whole project form here


Attachments: